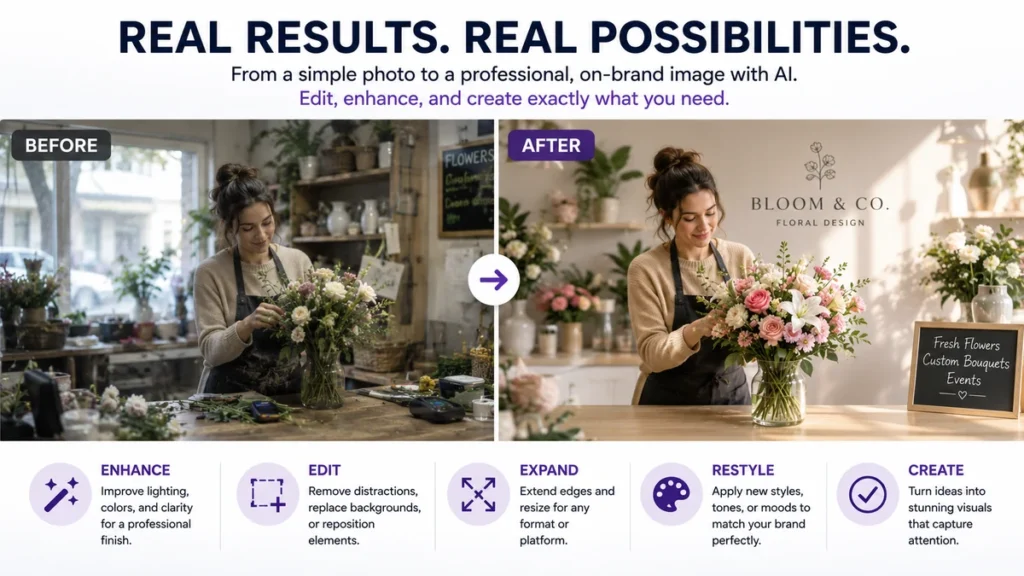
Quick Answer: AI image generation lets you create or change a picture by describing what you want in plain language, rather than by drawing or editing pixels by hand. Most tools work in one of four ways: creating a picture from scratch, editing an existing photo, filling in or expanding part of an image, or applying a style variation. For beginners, the safest first project is a small, low-risk image — a social graphic or a promotional visual — reviewed carefully before use.
You don’t need to run out of ideas to feel stuck. You just need to run out of time, budget, or design skill — and that’s exactly where most small-business owners find themselves when they need a new image.
Every business eventually needs visuals: a social post, a seasonal promotion, a product shot, a simple graphic for a website. Traditionally that meant a camera, design software, or a hired designer. AI image generation has changed the starting point. Now you can describe what you want in ordinary language, and a tool creates or edits an image for you.
This guide explains what AI image generation actually is, how its main workflows differ, and how to plan a safe, useful first project — without needing any design background.
What Is AI Image Generation?
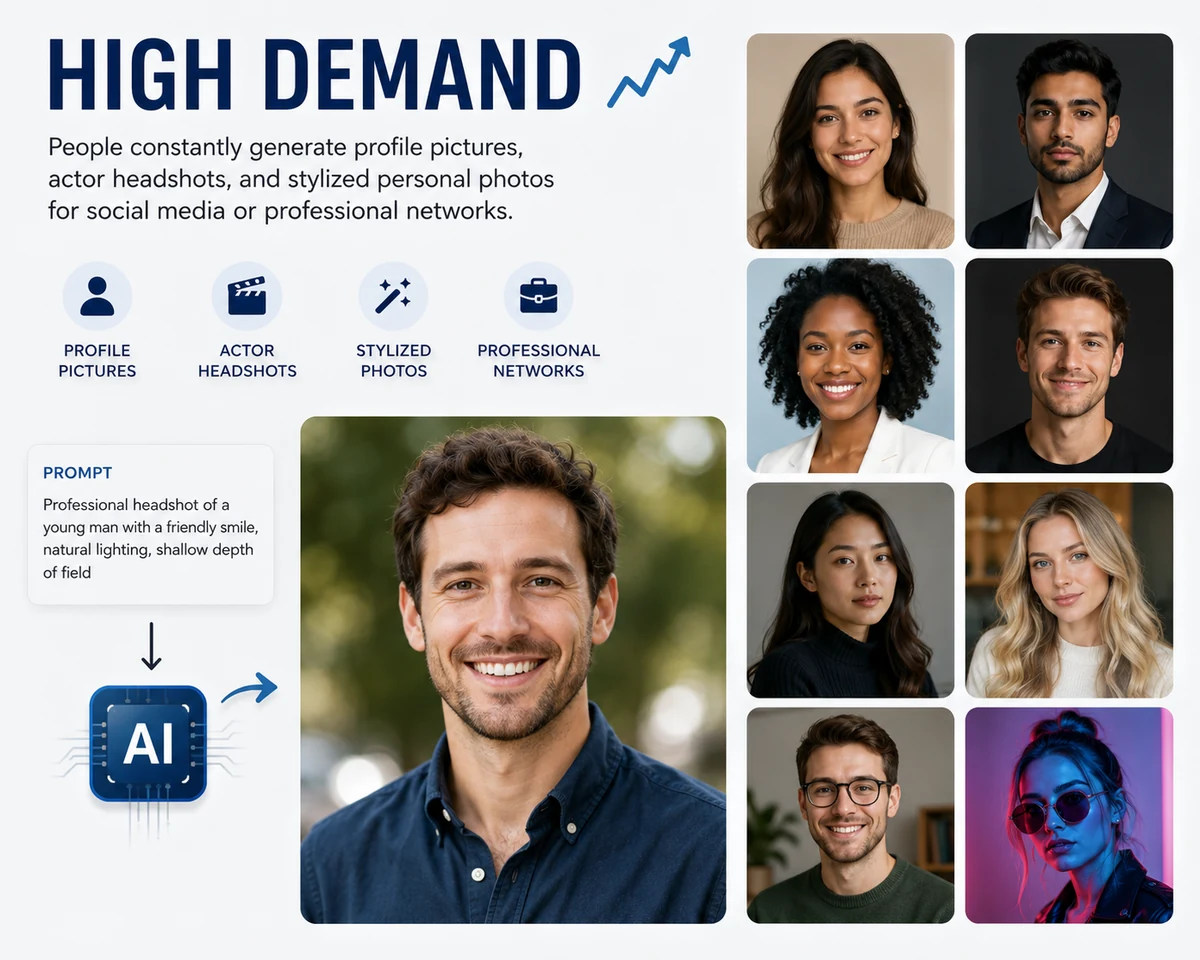
AI image generation is technology that creates or modifies pictures based on instructions you give it, usually written in plain English. You describe a subject, a style, or a change, and the tool produces a matching image.
It’s worth being clear about what’s actually happening under the hood, in simple terms: these tools don’t “understand” your business, your brand, or your intentions the way a person would. They’ve been trained on enormous numbers of images and predict what pixels are statistically likely to match your description. That’s why the results can be impressive and occasionally strange — the tool is pattern-matching, not thinking about your goals the way a designer would.
That distinction matters. It means every result needs a human decision behind it: does this actually serve the purpose I had in mind?
The Core AI Image Workflows
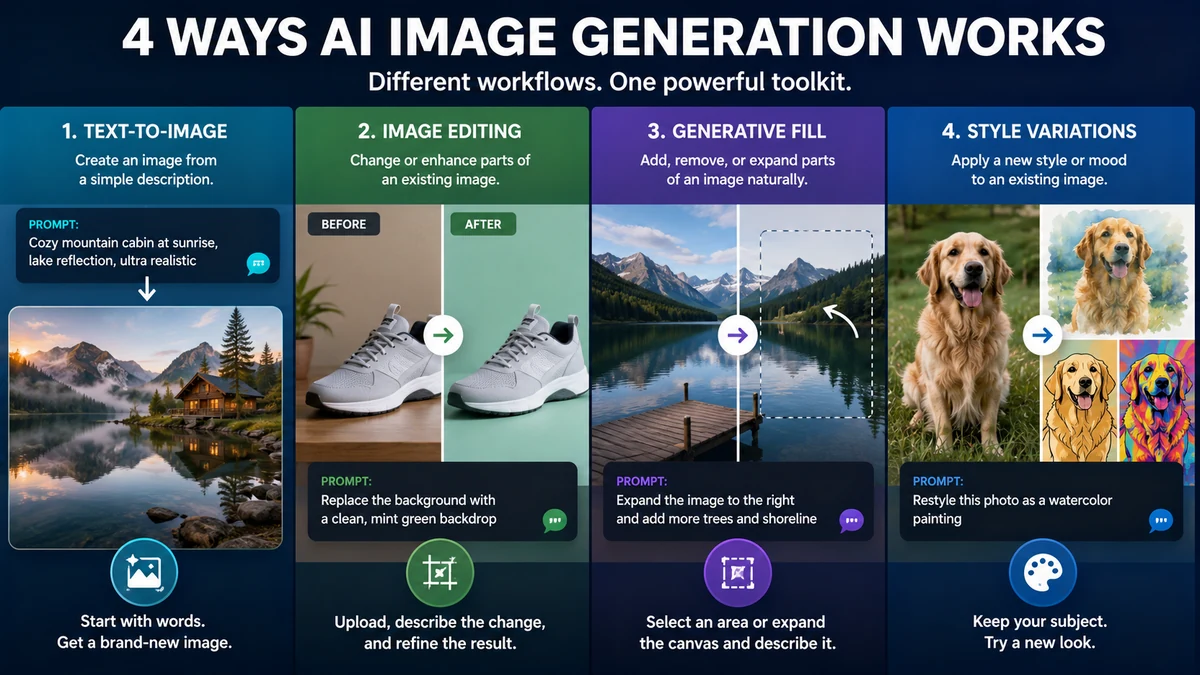
AI image tools generally support four distinct kinds of work. Knowing which one you need saves a lot of trial and error.
Text-to-Image
This is the most familiar workflow: you type a description, and the tool generates a brand-new image from nothing. There’s no starting photo — just your words. Both ChatGPT Images and Google’s Gemini support this directly in a normal chat conversation: you describe what you want, and the tool generates it, including the ability to follow instructions on text, detail, and background treatment.
Beginner example: “Create a warm, natural-light photo of a coffee cup on a wooden table, with soft morning light and space at the top for text.”
Image-to-Image and Image Editing
Here you start with an existing photo — one you’ve taken or uploaded — and ask the tool to change something about it: the background, the lighting, an object, a colour, or a style. OpenAI’s own documentation confirms that ChatGPT Images lets you upload an existing image and describe the changes you want, or select part of an image with a selection tool and edit just that area. Google has similarly rolled out native editing in the Gemini app, letting you upload a personal photo or an AI-generated one and change backgrounds, replace objects, or add new elements through conversation.
Beginner example: Upload a product photo and ask for the background to be replaced with a plain, brand-coloured backdrop, while keeping the product itself unchanged.
Generative Fill, Expansion and Object Removal
This workflow covers a specific, very practical job: changing the size or content of part of an existing image without redoing the whole thing. Adobe’s official Firefly guidance describes Generative Fill as a way to remove distractions with a brush, add new elements by selecting a region and typing a prompt, and resize or reframe an image using Expand — including creating space for text.
Beginner example: Take a photo that’s the wrong shape for your website banner, and use Expand to widen it without cropping out anything important.
Style and Design Variations
Sometimes you don’t need a new subject — you need the same idea explored in different visual styles. Midjourney’s official documentation describes its Style Reference feature as a way to capture the visual character of an existing image — its colours, medium, textures, or lighting — and apply that character to a new prompt, without copying the reference image’s specific objects or people.
Beginner example: Generate three versions of the same product illustration — one photorealistic, one flat and graphic, one warm and painterly — to see which fits your brand.
Quick Comparison
| Workflow | Starting material | Typical result | Beginner use case |
|---|---|---|---|
| Text-to-image | A written prompt only | A brand-new image | A social graphic created from scratch |
| Image-to-image / editing | An existing photo you upload | A modified version of that same photo | Changing a background or outfit in a product photo |
| Generative fill, expansion and object removal | An existing image with a gap, edge, or unwanted element | A seamlessly patched or resized image | Extending a photo to fit a banner shape |
| Style / design variations | A prompt or reference image, plus a style direction | Several stylistic takes on one concept | Exploring different looks for a logo or graphic |
Generating a New Image vs Editing a Real Photograph
It’s easy to blur these two ideas together, but they’re genuinely different jobs.
Generating creates something that never existed — a fresh image assembled from a description. It’s ideal when you don’t have a suitable photo already, or when the concept is more important than any specific real-world scene.
Editing starts with something real: an actual photograph of your product, your shop, or your team. The AI changes specific elements while trying to preserve the rest. This matters for accuracy — when accuracy to a real object matters, editing a real photo usually provides a more reliable starting point than generating the object from scratch, but the edited result still needs careful comparison with the original.
A simple rule: if accuracy to a real object matters, start from a photo and edit it. If you’re illustrating an idea rather than a specific real thing, generating from text is usually the more direct route.
Common Beginner and Small-Business Use Cases
- Social media graphics and announcements
- Seasonal or promotional visuals
- Simple product mockups
- Blog and website featured images
- Background changes for existing product photos
- Resizing or reshaping an image for a different platform
- Exploring visual directions before committing to a design
For practical tool options across these workflows, see K44’s AI Image Generation Tools page.
A Safe First-Image Process
- Pick one small, low-risk project. Something like a social graphic or a blog image — not your logo or anything legally sensitive.
- Decide your starting point. Are you generating from scratch, or editing a real photo you already have?
- Write a clear, specific prompt (see the formula below).
- Generate a first result and review it honestly — don’t settle for “close enough.”
- Ask for one specific change at a time, rather than several at once — it’s easier to judge whether each change worked.
- Check every detail at full size — text, faces, hands, logos, and small objects are the most common problem areas.
- Get a second pair of eyes before anything goes out publicly, especially for business use.
The K44 Progressive Prompt Formula
Build your prompt in layers rather than trying to get everything right in one go:
- Subject — what is actually in the image?
- Purpose — what is this image for? (social post, banner, product shot)
- Style — photographic, illustrated, flat, painterly, minimal?
- Constraints — aspect ratio, colours to include or avoid, space for text
- Refinement — after the first result, describe one specific change
Start simple. Add detail only where the first result falls short.
Completed Small-Business Prompt Example
Imagine an independent florist preparing a spring promotion.
Step 1 — Subject: “A fresh spring bouquet of tulips and eucalyptus in a simple ceramic vase.”
Step 2 — Purpose: “For a square social media post announcing a spring bouquet collection.”
Step 3 — Style: “Soft, natural daylight, warm and inviting, photographic style.”
Step 4 — Constraints: “Square format, pastel colour palette, plenty of clean empty space in the upper third for text to be added later.”
Step 5 — Refinement (after reviewing the first result): “Keep the bouquet and lighting exactly the same, just move the vase slightly left to leave more open space on the right.”
Human Review Checklist
Before using any AI-generated or AI-edited image, check:
- Does it accurately represent what you’re actually offering?
- Is any text in the image spelled correctly?
- Do faces, hands, and small details look natural?
- Are there any unintended objects, artefacts, or distortions?
- Does it match your brand’s tone and colours?
- Is it the correct size and shape for where it will be used?
- Have you reviewed the platform’s current terms for this kind of use?
Accuracy, Originality, Copyright and Commercial-Use Cautions
AI-generated images raise real questions around originality, ownership, and appropriate use — and these are genuinely evolving areas. Rather than offering a fixed legal position, the honest approach is this: policies differ by provider, by plan, and by how an image is used, and they can change. Before using an AI-generated image commercially, check the current terms of service for the specific tool you used, and consider whether the image could resemble an existing trademark, brand, or identifiable real person.
Never assume an AI tool has automatically cleared copyright, trademark, or privacy considerations on your behalf. If commercial use matters to your business, that’s worth verifying directly with the provider’s current documentation before you rely on an image.
Accessibility and Useful Alt-Text
If an AI-generated image goes on a website, it needs accurate alt text like any other image. Good alt text:
- Describes what’s actually in the image, in plain language
- Mentions the purpose of the image if that’s relevant (e.g., “promotional graphic” vs “decorative background”)
- Avoids stuffing in keywords that don’t describe the image
- Stays reasonably short — a sentence is usually enough
Remember that an AI-generated image doesn’t automatically come with useful alt text. That’s still something a human needs to write.
Common Beginner Mistakes
- Trying to fix everything in one prompt. Make one change at a time so you can judge what worked.
- Not checking small details. Text, hands, and logos are the most common problem areas.
- Assuming the tool understands your brand. It doesn’t — you have to spell out constraints explicitly.
- Skipping human review before publishing. Every AI image needs a real check before it goes live.
- Ignoring the difference between generating and editing. Using the wrong workflow often creates unnecessary extra work.
- Not checking current commercial-use terms. Policies vary and change — don’t assume.
Key Takeaways
- AI image generation means describing what you want in plain language rather than designing pixel-by-pixel.
- The four main workflows — text-to-image, editing, generative fill/expansion, and style variation — each solve a different kind of task.
- When accuracy to a real object matters, editing a real photo usually provides a more reliable starting point than generating from scratch, but always compare the result carefully with the original.
- A clear, layered prompt and one small first project make it much easier to learn what works.
- Every AI-generated image still needs human review, accurate alt text, and a check against current commercial-use terms.
Frequently Asked Questions
Do I need design skills to use AI image generation?
No. Most tools are built around plain-language prompts rather than technical design skills. That said, being specific and clear in your description makes a noticeable difference to the result.
What’s the difference between generating an image and editing a photo I already have?
Generating creates a brand-new image from a description alone. Editing starts with a real photo and changes specific elements while trying to preserve the rest. Use editing when accuracy to a real object or scene matters.
Can I use AI-generated images for my business?
Possibly, but this depends on the specific tool and its current terms. Review the provider’s up-to-date usage policy before relying on an image commercially, rather than assuming it’s automatically cleared.
Will the text inside my AI-generated image be correct?
Not necessarily. AI image tools can still misspell, omit or distort text. Always proofread every word, especially prices, dates, names and legal wording.
Do I own the images an AI tool creates for me?
Ownership and usage rights vary by provider and by plan. This is exactly the kind of detail to confirm directly against the current terms of the specific tool you’re using, rather than assuming a single universal answer.
Which should a beginner try first — text-to-image or editing?
If you already have a usable photo of something real — your product, your shop — start with editing. If you’re illustrating an idea or don’t have a suitable photo, text-to-image is the more direct starting point.
Explore K44’s AI Image Generation Tools
If you’re ready to try this for yourself, explore K44’s carefully selected AI Image Generation Tools — a curated starting point rather than an overwhelming list. For more on how the wider generative AI landscape fits together, see What Is Generative AI? A Stupid-Simple Beginner’s Guide, and if you want to compare two of the leading tools directly, read ChatGPT Images vs Google Gemini: Which Is Easier for Beginners?.